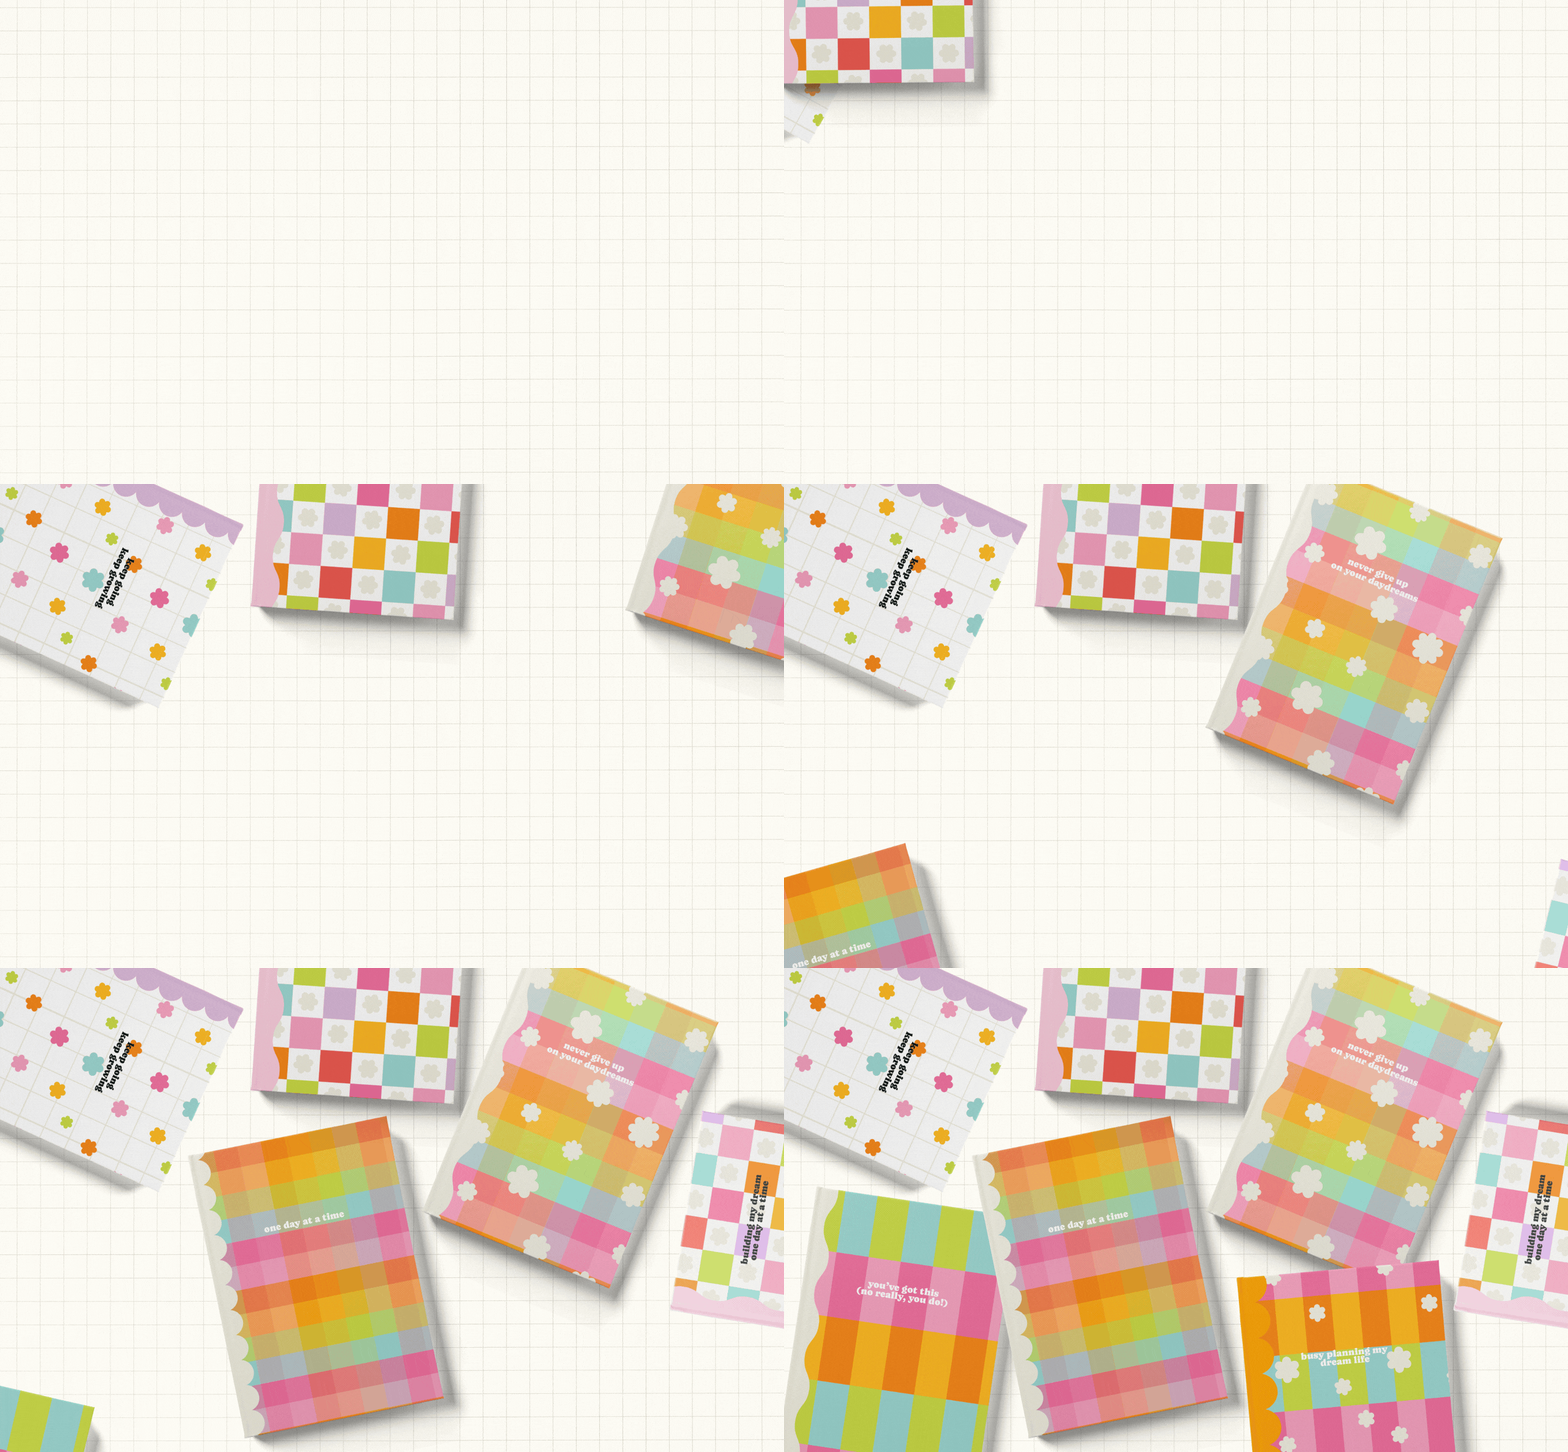
✨ Self-Publishing on Amazon KDP for Creatives: How I Turned My Ideas Into Real Printed Books
If you’ve ever wanted to turn your creative ideas into actual printed books — like journals, planners, or even coloring books — you’re going to love Amazon KDP.
It’s how I’ve self-published over 30 notebooks, journals, and planners (without ordering a single box of inventory).
And yes, it’s way easier than most creatives think.
✨ So, what is Amazon KDP? ✨
KDP stands for Kindle Direct Publishing. It’s a free tool by Amazon that lets you upload a book file, and they print and ship it for you every time someone places an order.
Think of it like print-on-demand — but for books.
You upload your design.
Amazon handles the printing, packing, and delivery.
You get a royalty every time a copy sells.
What kind of books can you publish?
You don’t need to write a novel (but you can if you want).
Most of what I create are what’s called low-content books — things like:
Lined or dotted notebooks
Prompt journals
Planners and trackers
Sketchbooks
Activity books
Basically, anything where the buyer fills in the pages. But the options are endless with KDP and you could create any book your creative heart desires including:
Colouring Books
Children’s Picture Books
Art Books
Photography Books
Cookbooks
Guides
Here’s how to get started:
Set up your KDP account
Go to kdp.amazon.com and sign in. Add your payment info and tax details — it takes a few minutes.Choose your book size
There are lots of standard sizes (like 6x9 or 8.5x11) or you can set a custom one. Always pick your book size before you start designing.Design the inside pages (aka. the manuscript)
I use Adobe InDesign, but you can totally use Canva or similar design programmes if that’s what you’re comfortable with. Just export it as a PDF when you're done.Create your cover
Design this after you’ve finished your manuscript — otherwise the sizing won’t be right. Use the KDP Cover Calculator to get a template that fits.Upload your files to KDP
Add your title, description, keywords, and categories. Then upload your interior PDF and your cover.Preview it and hit publish
KDP will flag anything weird in the margins or resolution. Once it looks good, you choose your price, set your royalty… and press publish!
Mistakes to avoid:
Designing your cover too early - you cover needs to wrap around your book perfectly so it should always be the last thing you design
Forgetting to add a bleed or set up margins correctly - KDP recommends a minimum margin of 0.25”
Exporting files with low resolution - minimum of 300 DPI is a must or else your design will get flagged with poor print quality
Watch my YouTube tutorial & learn more!
If you’ve been dreaming of creating a product you can sell again and again — one that’s easy to make, has no upfront cost, and doesn’t take over your living room with stock — KDP might be your new favourite thing.
And if you want help?
Take my FREE mini workshop and get started today!


